Seed Paper Wedding Favours DIY

Coming up with an idea for wedding favours was a tough one – there were so many options out there, and I wanted to stick to our budget, but I also wanted something fun and different that reflected our personalities too!  I had come across seed paper wedding favours on the internet, botanicalpaperworks.com is a great Canadian company that has some awesome wedding favour ideas that can be personalized and look really cute!  However, they were out of our price range and I wanted to pick more seed options instead of just wildflowers or herbs.  We both love gardening, so we thought this would be the perfect wedding favour for our rustic wedding!  I ended up finding a fabulous DIY over at hillcitybride.com and decided to give it a try.  I didn’t follow the instructions exactly but I was still happy with the results, after a couple of tries!  The biggest mistake I made on the first attempt was not having proper mesh screens to strain the paper onto – I kind of figured I could use a window screen, a rolling pin and some paper towel but that was not the case!  We tried the method that Hill City Bride used, with the cookie cutters, but I found it too time consuming and tedious.  I decided to try the second attempt by making sheets of paper and cutting them into the shapes I wanted using paper punches, and it was much more successful!

Here’s what you’ll need…

Paper – you can either use coloured paper or recycle some newspaper.  I used coloured paper since I wanted the favours to have a different colour for each seed type

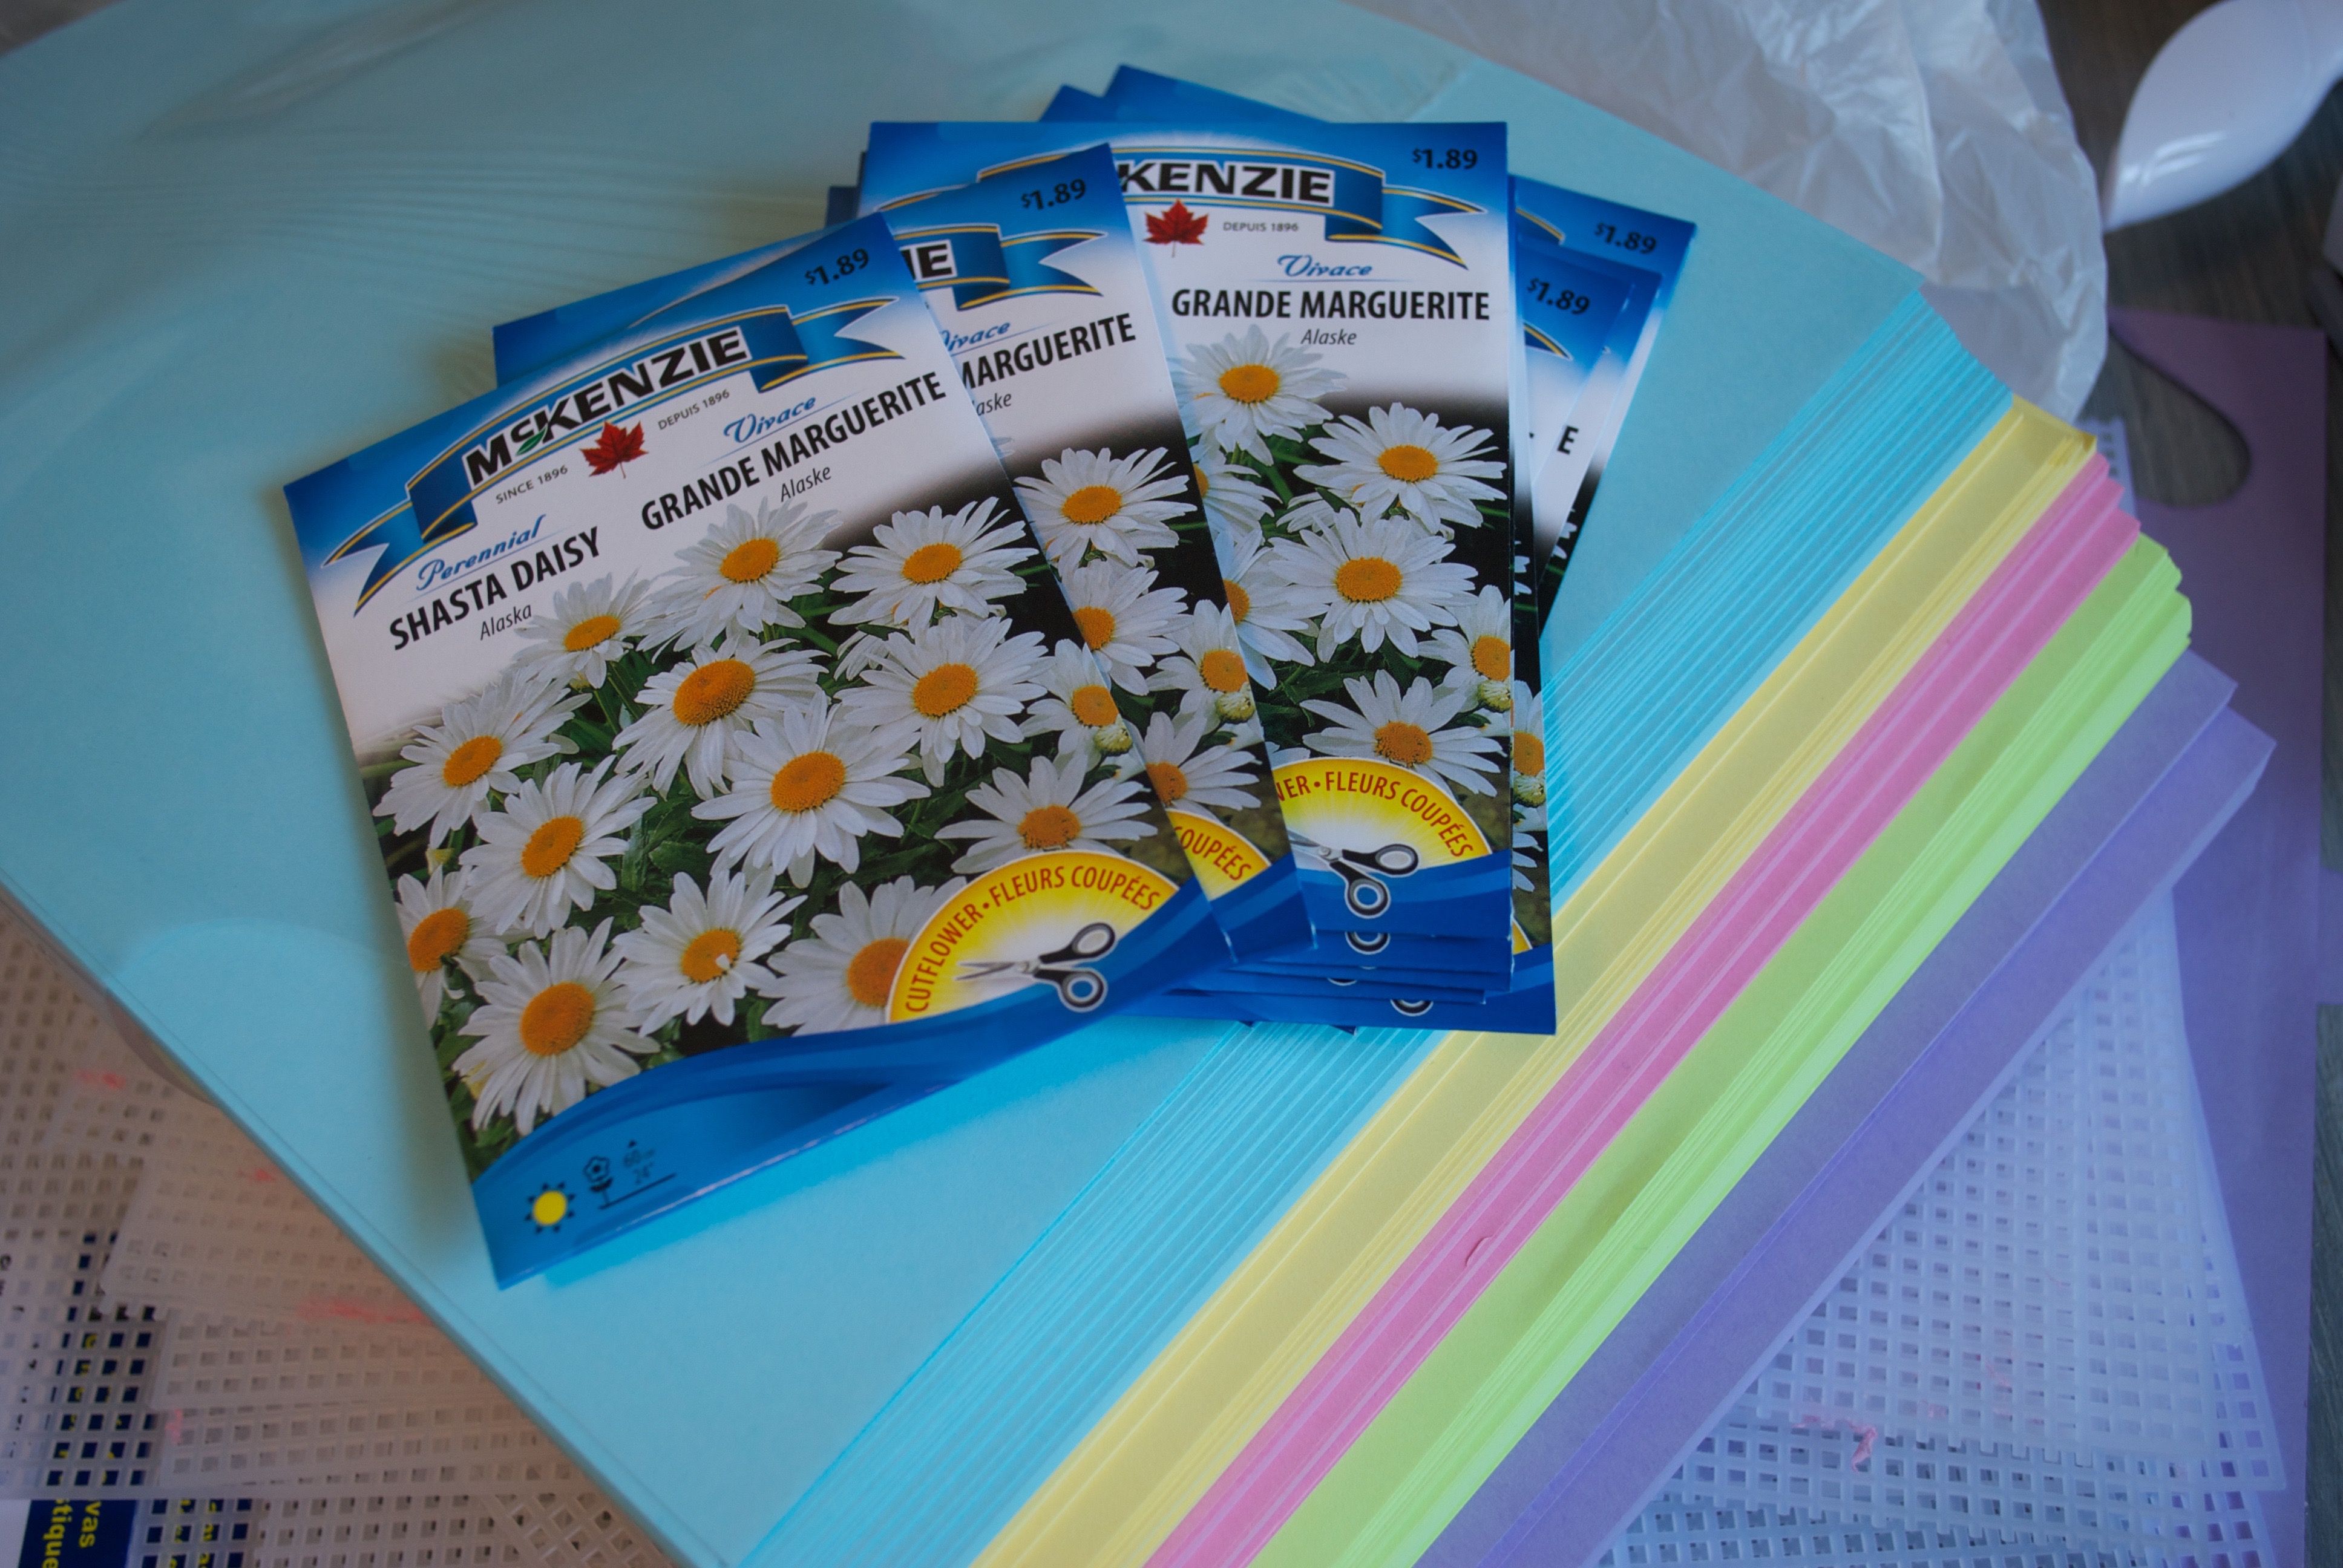
Seeds – I think you could probably use any type of small seed, it has to be small enough to embed into the paper, so larger seeds like sunflower seeds won’t work.  I used Poppy and Shasta Daisy seeds and they were perfect.  You could also used herbs or vegetable seeds if they are small enough!

Blender or food processor (better to use an inexpensive one)

Screens – I did end up just using a window screen to dry it on, but you’ll need smaller screens to put the pulp on.  I actually got some plastic cross-stitch screens from the craft store and those worked great and were inexpensive.

Large Tray – something big enough to fit your screen in, I used a big tupperware container

Boiling Water

Towels – you’ll need lots, it’s a messy, wet project!

Dried Flower Petals or Leaves (optional if you want to make the paper have some more texture)

DSC_0158

Begin by cutting up some paper into small pieces – you can rip it or cut it, as long as it’s in small pieces, about 1 inch squares.  You’ll need quite a bit to make the paper so start with a bit more than you think you’ll need.  Put the paper in a big bowl, and cover it with boiling water to soften up the paper.  I let it sit for about an hour – you don’t want the hot water to kill the seeds, so it’s better to let the water come back to room temperature before going to the next step.

DSC_0160

Take some of the paper/water mix, and pour it into your blender.  Pulse it until it’s well blended – you might need to add more water so your blender doesn’t jam up.  You want it the texture of a thin slurry – the thinner you can get it, the thinner your paper will be.

DSC_0163

Pour the slurry into your tray or container and mix in the seeds – I added quite a few packages as I wanted to make sure that the paper had a good chance of sprouting.  Stir it up to combine the seeds evenly in the slurry.  Take your screen and dip it into the slurry – almost scooping it underneath so you can pull it up and have the pulp on top of your screen.  Try to make it as even distribution as possible – it’s a bit tricky but after a few tries, you’ll get the hang of it!

DSC_0164

When you pull out the screen, place another screen on top and sandwich it between a towel to squeeze out the excess moisture – you want the paper to dry fairly quickly, keeping the seeds as dry as possible will help them to have the best chance at sprouting!

DSC_0165

Peel off one of the screens, and then carefully turn the other screen over so that the paper is facing your window screen (or whatever you are using to dry it – I literally just popped out a window screen and used that!).  Peel off the small screen so that just the paper can dry out on the window screen, like in the pictures below.

DSC_0168

DSC_0169

Now for the waiting game – let the paper dry for a day or two!  I weighted mine down a bit on the corners using a few old tiles – the paper warps a bit as it dries so if you want it to be fairly straight, I suggest you do the same.  If that’s not a concern, just let it dry on it’s own.  I put mine in a sunny spot in the house – if it was nice outside, you could leave it in the sun for a few hours and I’m sure it would be dry in no time!

When it was done, I used a couple of scrapbook paper punches to cut out the paper into heart and butterfly shaped pieces!  I wanted to do a matchbook style cover, so I made up a matchbook template in Photoshop and printed on heavy cardstock.  Then I used a paper cutter to cut it out and scour the folding edges, and used a stapler and some double sided tape to attach the seed paper cutouts!

HollyandCody-20

(Photo courtesy of our wedding photographer, Rachel of North and Cedar)

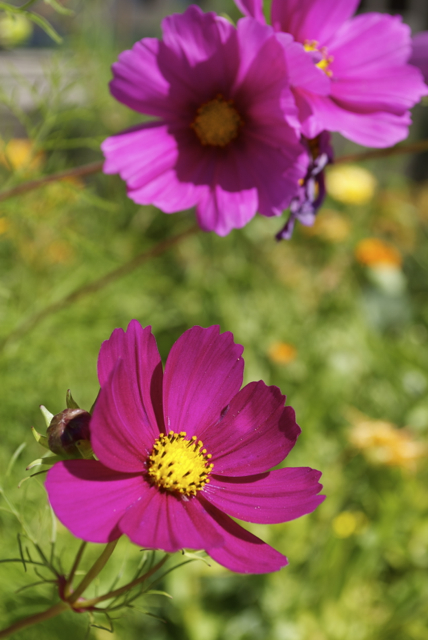
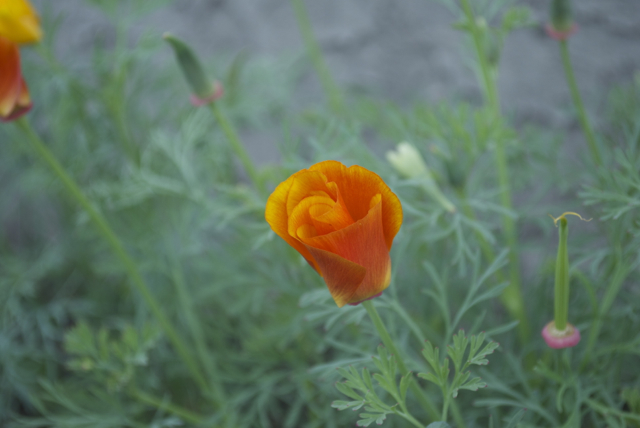
I know, you’re thinking, that’s great, but did it work?!  Does the seed paper actually sprout after all that work?  Well, the answer is YES!!!  After our wedding, I planted some of the poppy seed paper and I have a wild and beautiful poppy garden that is still blooming well into September!

DSC_0362

The Shepherd’s Flock – Knitted Sheep

Well!  I think a nearly 3 year hiatus from this blog is long enough!  I have to say, keeping up can be a bit of a challenge – I tend to find new recipes and put them into my draft posts and forget about them!  Which probably means you can expect a flood of recipes once I get to them (that is, if anyone out there is still reading this blog :D)

A lot has happened in 3 years!  I recently got married (yay!) and let me tell you… Pinterest can be a blessing and a curse (as most of you probably already know!) when it comes to wedding ideas.  I’ll probably devote the next few posts to wedding DIY ideas to show you a bit of the fun I had wedding planning, so it will be a bit of a break from the usual recipes!  I have to say it is a lovely change of pace to be able to spend time blogging, crafting, baking and cooking than running around doing wedding related stuff!  It’s fun to look back and share these fun memories with you all 🙂

As most of you probably remember from previous posts, I love knitting!  Since we were having a rustic country wedding (and I was becoming a Shepherd, after all!) I decided to make some cute sheep to use as decorations that I had stumbled across when I found this book:

51r2Hl-PY3L._SX410_BO1,204,203,200_

Spud the Sheep was a fun project to knit, and involved twisting the yarn on alternating stitches to make a curly coat for his body!  It was an interesting pattern and fairly easy for someone looking for a project that is a little beyond the mundane beginner pace.

I ended up making two sheep (his and hers!) for the reception table, and then decided to get adventurous and modify the pattern to make a flower girl basket and ring bearer pillow – those were a bit more complicated, as I had to make them taller to accommodate room for a plastic insert to be put in for the flower petals (which ended up being a cut down large yogurt container that slid in perfectly!).  Here are a few pictures of the sheep in action (thanks and photo credit goes to our amazing photographer, Rachel from North and Cedar).

HollyandCody-649HollyandCody-24 HollyandCody-25 HollyandCody-28

These sheep are knitted on double pointed needles and knit in the round.  The patterns from the book can also be found on Ravelry (click here to view them!) – they have much more than just sheep in the collection but I have yet to try anything beyond that!  For the ring bearer pillow, the modifications were fairly simple, I just extended the body height a few inches and simply tied the rings on the back with some yarn.  The flower petal basket was a bit more complicated – I don’t have a pattern (I regret not writing my modifications!) but since it was knit in the round, I binded off one edge and just continued knitting the other two edges in the same pattern, leaving the 3rd side open for the basket.  Then, I used dpn’s to knit a simple tube in the round out of the same body colour for the handle and measured it to fit the gap (I made it a bit longer than necessary so that it would curve a bit as a handle).  I used a plastic yogurt container for the petals and it thankfully fit perfectly on the inside, I just trimmed off the excess so that the sheep’s body hid the edges.  I also cut a piece of the yogurt container to fit inside the handle tube, and it was perfectly rounded to make the handle shape.  I wanted the flower petal basket to have a bit more girly decorations on it (of course!) so I did a bit of searching and found some perfect knit flower and leaf patterns to make and attach to the handle.  The Lion Brand website has a great pattern for knit roses here, although for these, my worsted weight yarn made the full pattern a bit large, so I only knit the small and medium petals and it worked out to be the perfect size for the handle and collar.  They also had a great small leaf pattern that looked great with the roses!

All in all, it was a bit of a difficult project with the modifications, but it really turned out much better than I had hoped and it was a lot of fun to do!

Longing for Gardening Season

I realized when I made my last post that it had been a long time since I updated this blog! So long, in fact, that the flowers were just starting to bloom.  Gardening season kept me really busy this past summer, I put in a full garden of herbs, lettuce, carrots, tomatoes, potatoes, strawberries, blackberries, raspberries, apples and garlic.  I was almost a bit relieved when the first frost hit, as the amount of watering and weeding was beginning to get old.  But now that I’ve had a break and there is snow on the ground, I am missing the delicious taste of all that wonderful fresh fruit and veggies, and the sweet smell of all those flowers.  I have lots of photos, so I won’t bore you with the details, but I’ve posted just a few for you to peek at!  Can’t wait for next year’s planting season! 🙂


Spring Gardening

Wow, gardening season has come on full force this year!  I usually busy myself with the two flower beds I have at the side of my house and in the front.  Last year, I planted a bunch of “perennials” (I use the quotations because some aren’t actually perennials – they just somehow reseed and survive every year) – calendulas, daisies, california poppies, as well as some tulips and peonies.  But this year, I ripped up some of the sod and put in a real vegetable garden!  It involved moving a lot of existing shrubs to different spots, but everything appears to have survived.  I also planted two more crabapples (hopefully the birds prefer those over the eating apples!) and another shade tree, a Toba Hawthorne which looks like a new variety of tree that is supposed to be hardy in Southern Alberta.  I’ve planted lettuce, carrots, beans, potatoes, onions, garlic, beets, tomatoes, herbs (dill, cilantro, rosemary, sage, basil), strawberries, raspberries, blueberries, blackberries and haskap berries (a new type of berry I have never heard of!).  Things are starting to poke through now – I am sure with the sun starting to shine, I’ll be eating some fresh, home grown food in no time!  Here are a few pics, I will update the progress as  this experiment progresses!

Apple blossoms – there are tons this year. This “Combination Apple” (5 kinds of apples grafted on one tree) will have been planted for three years this summer, and it seems to finally be flourishing.

Toba Hawthorne – supposed to have small white flowers and turns golden yellow in the fall.

Lilac – this was a sapling from a tree in my parents yard that my dad dug up and transplanted. It’s survived a major, bark-stripping hailstorm that killed most of my trees and shrubs the first year I moved, and this year it looks like it will bloom for the first time!

Tulip – love the marbleized bud!

Tulips always surprise me – planting the bulbs in the fall, I forgot what colours I had purchased. I love these light pink ones that remind me of Easter!

More pink tulips 🙂

I had thought these ones would be red! But they turned out to be a fun marbleized yellow/red.

Garden markers… a little garden humour 🙂

More garden humour… couldn’t think of anything clever for potatoes though!

Summer Flowers

Wow, September 3rd already!  Hard to believe the summer has come and gone.  I haven’t blogged much lately, the summer keeps me too busy to try a lot of new recipes (outside of BBQ!) and I end up spending a lot of time doing yard work.

Just wanted to post a few pics of my flowers this year… things are starting to go to seed now, and what wasn’t destroyed by hail is starting to come back, but it won’t be long before the leaves will fall now, so I am not really putting too much effort into keeping it alive.  Although I will miss the beauty that this city has in the summer, I always look forward to cooler weather!  Must be the Canadian blood 😀

A lot of the flowers I planted this year were from seed… I’m trying to plant more flowers that are lower maintenance and come back year after year.  I don’t mind spending money on annuals but it is heartbreaking to see them destroyed by hail!!!  I love the calendulas and daisies.  And they are tougher than most fragile flowers, so they can handle a light frost!

Happy Fall!